


The most recent versions of Sniffnet introduced support for custom IP blacklists,
and today we’re going to learn how to leverage this feature to detect potentially malicious network connections.
Sniffnet has supported importing IP blacklists since 6 months ago with version 1.5.0,
but the feature has never been in the spotlight,
so let’s take a closer look at it and see how it can be used to improve your network security.
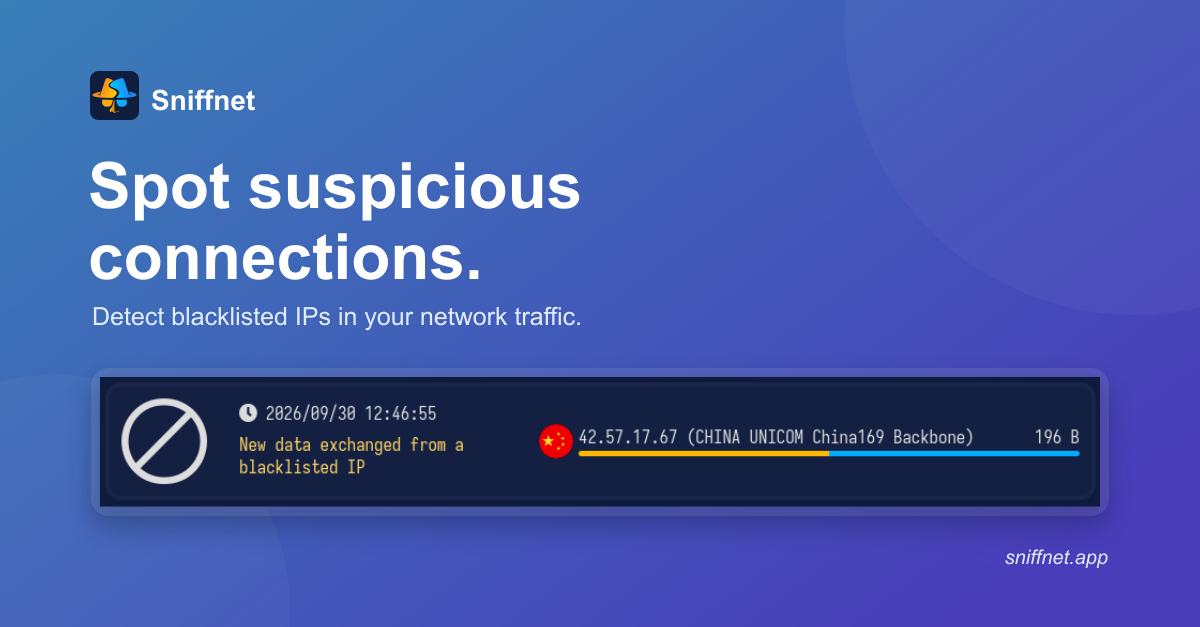
What is an IP blacklist?
An IP blacklist is a list of IP addresses that are known to be associated with malicious activity,
such as spamming, phishing, or distributing malware.
Such lists are maintained by security researchers and organizations,
and they are typically used to block or flag traffic from certain addresses in order to protect users from potential threats.
You are free to create your own blacklist, but it’s advisable to use reputable sources that regularly update their lists based on the latest threat intelligence.
Some open-source, regularly maintained IP blacklists are available at the following links:
- firehol/blocklist-ipsets
- bitwire-it/ipblocklist
- duggytuxy/Data-Shield_IPv4_Blocklist
- romainmarcoux/malicious-ip
How to use IP blacklists in Sniffnet
Now that you know what IP blacklists are and where to find them, let’s get straight to the point and see how to get the most out of them in Sniffnet.
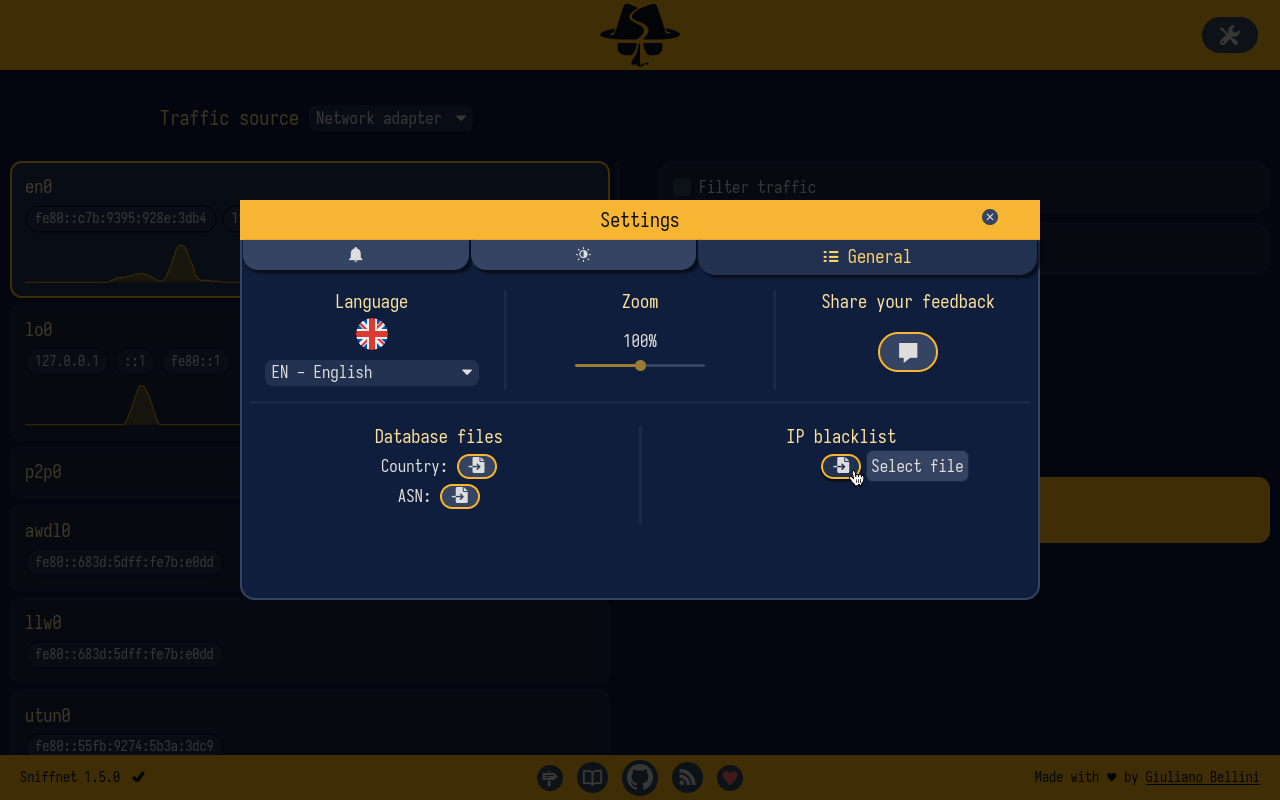
To import an IP blacklist into Sniffnet, open the application settings by clicking the button in the top-right corner,
then navigate to the “General” tab, where you’ll find the “IP Blacklist” section.
From there, you can select the file containing the blacklist you want to import.
The app supports blocklists in any textual file format, as long as the file contains one IP address or CIDR range per line.
Sniffnet will ignore any lines that do not start with a valid IP address or CIDR range.
If the import is successful, you’ll be able to see the number of entries in the list.
From now on, Sniffnet will check all network connections against the imported blacklist, and if you enable blacklist notifications, the app will notify you whenever a suspicious address is involved in your network traffic.
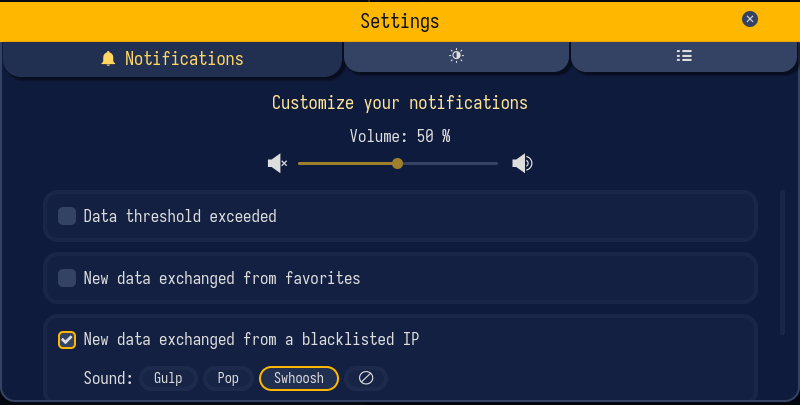
The alert will include the time of the connection, the amount of data exchanged, and the IP address that triggered it, with the associated country and organization name.

You can also filter your connections and see only the ones that are flagged as suspicious in the “Inspect” page by enabling the “Only show blacklisted” option.
Keeping your blacklist up to date
The IP addresses associated with malicious activity can change over time as attackers move to new addresses or as security researchers update their threat intelligence.
For this reason, it’s important to keep your blacklist up to date in order to maintain its effectiveness.
Sniffnet deliberately reads blacklists from local files to keep traffic analysis local and independent of external services.
Leaving downloads and updates to external tools keeps the app focused on network monitoring and gives you control over the source and update schedule, without making blacklist checks depend on the provider’s availability.
If you want to keep your blacklist updated without having to manually download and import it every time, you can use a script or a cron job to automate the process.
In my personal macOS setup, I have a cron job that downloads the latest version of bitwire’s outbound list
every day at 10:30 AM and saves it to a local file whose path is configured in Sniffnet as the source for the blacklist, so that the new content is reloaded at every app restart:
30 10 * * * curl https://raw.githubusercontent.com/bitwire-it/ipblocklist/refs/heads/main/outbound.txt > ~/ip_blacklist.txt
This way, Sniffnet’s interface can remain simple and intuitive for beginners, while power users can still leverage the full potential of the feature by automating the update process on their own if they wish to do so.
If you need help setting up a cron job, you can refer to the official POSIX documentation for crontab, which includes scheduling syntax and examples.